We will be learning an interesting use case to provision resources in AWS cloud using Terraform and Azure DevOps. We will also learn how to store terraform state info remotely in AWS S3 bucket.

We will create S3 bucket for storing terraform state info and Dynamo DB table for providing state lock capability.
We will try to create an EC2 instance and S3 Bucket using Terraform and Azure DevOps in AWS cloud. Look at the diagram that describes the whole flow.

Watch the steps in YouTube channel:
Pre-requisites:
- Azure DevOps organization
- Add Azure pipelines Terraform tasks
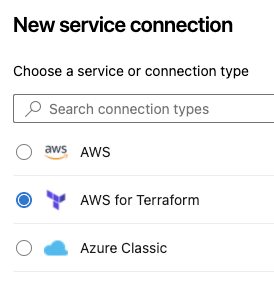
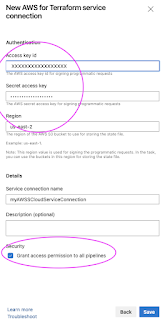
- Create AWS service connection in Azure DevOps for Terraform to use
- Create service connection for connecting to GitHub
- Create S3 bucket for storing TF state
- Create dynamo DB table for providing lock capability
- I have provided my public repo as an example which you can use.
Step # 1 - Create S3 Bucket:
Login to AWS, S3. Click on create S3 bucket.
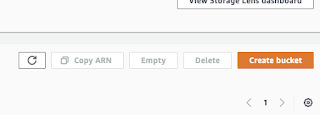
Give unique name to the bucket, name needs to be unique.

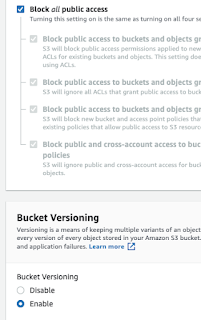
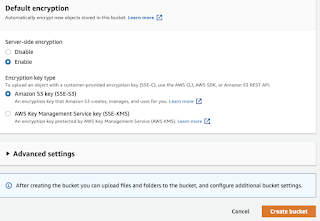
Block all public access, enable bucket versioning as well.
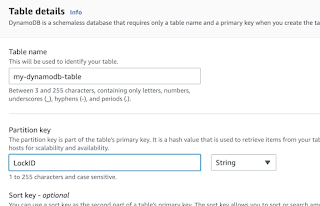
Step # 2 - Create DynamoDB Table
Create a new table with LockID as partition Key
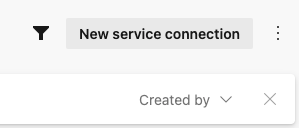
Step # 3 - Create Service connection to connect to AWS from Azure DevOps
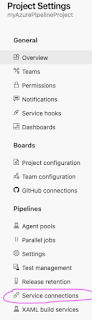
Go to Azure Devops, select your project. Project Settings

Click Service Connections
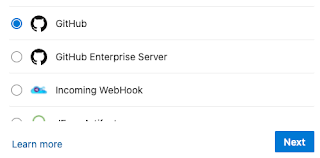
Create Service connection for connecting to GitHub
Save
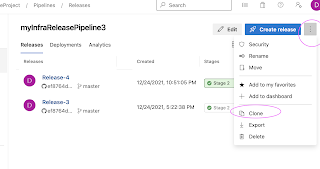
Step 4 - Create a new Release Pipeline
Click on Releases, New, choose New Release pipeline

Select empty job.

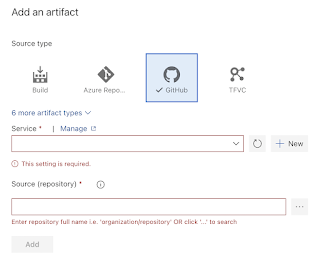
Click on Add Artifacts

Choose GitHub, select Github service connection, select the repo
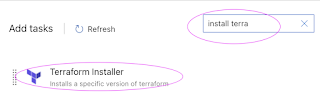
Click on Add tasks, type terraform
choose the task

Add task, search for install terraform and select installer task
It should show something like this:
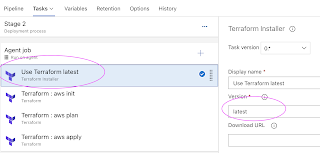
Search for terraform and add task


Add another task for plan, select right values.
enter -out dev-plan

Add another task by cloning for apply.
enter "dev-plan" as additional arguments


Login to AWS--> S3 Bucket, you should see terraform state info

Click on Save.
Create Release, now job should be running.

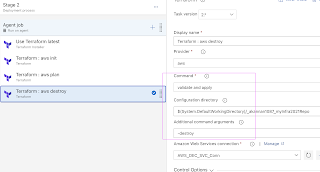
How to destroy all the resources created using Terraform?
Add
Modify the apply task to as shown in the diagram
enter -destroy as additional argument.
Click on Create Release to make sure all the resources are destroyed.


